
Are you looking for a new, effective way to boost your health and fitness? Look no further than rucking! This simple yet powerful exercise involves walking with a weighted backpack, combining the benefits of cardio and strength training into one efficient workout. In this guide, we'll walk you through three easy steps to get started with rucking and unlock its numerous health benefits.
Brand new to rucking? The Start Rucking guide walks through your first month.
What is Rucking?
Rucking is a low-impact, high-reward exercise that involves walking with a weighted backpack. It offers a unique blend of cardiovascular and strength training, making it an excellent choice for those seeking to improve their overall fitness.
Step 1: Choose the Right Rucking Gear
The first step in your rucking journey is selecting the appropriate equipment. Here's what you need to focus on:
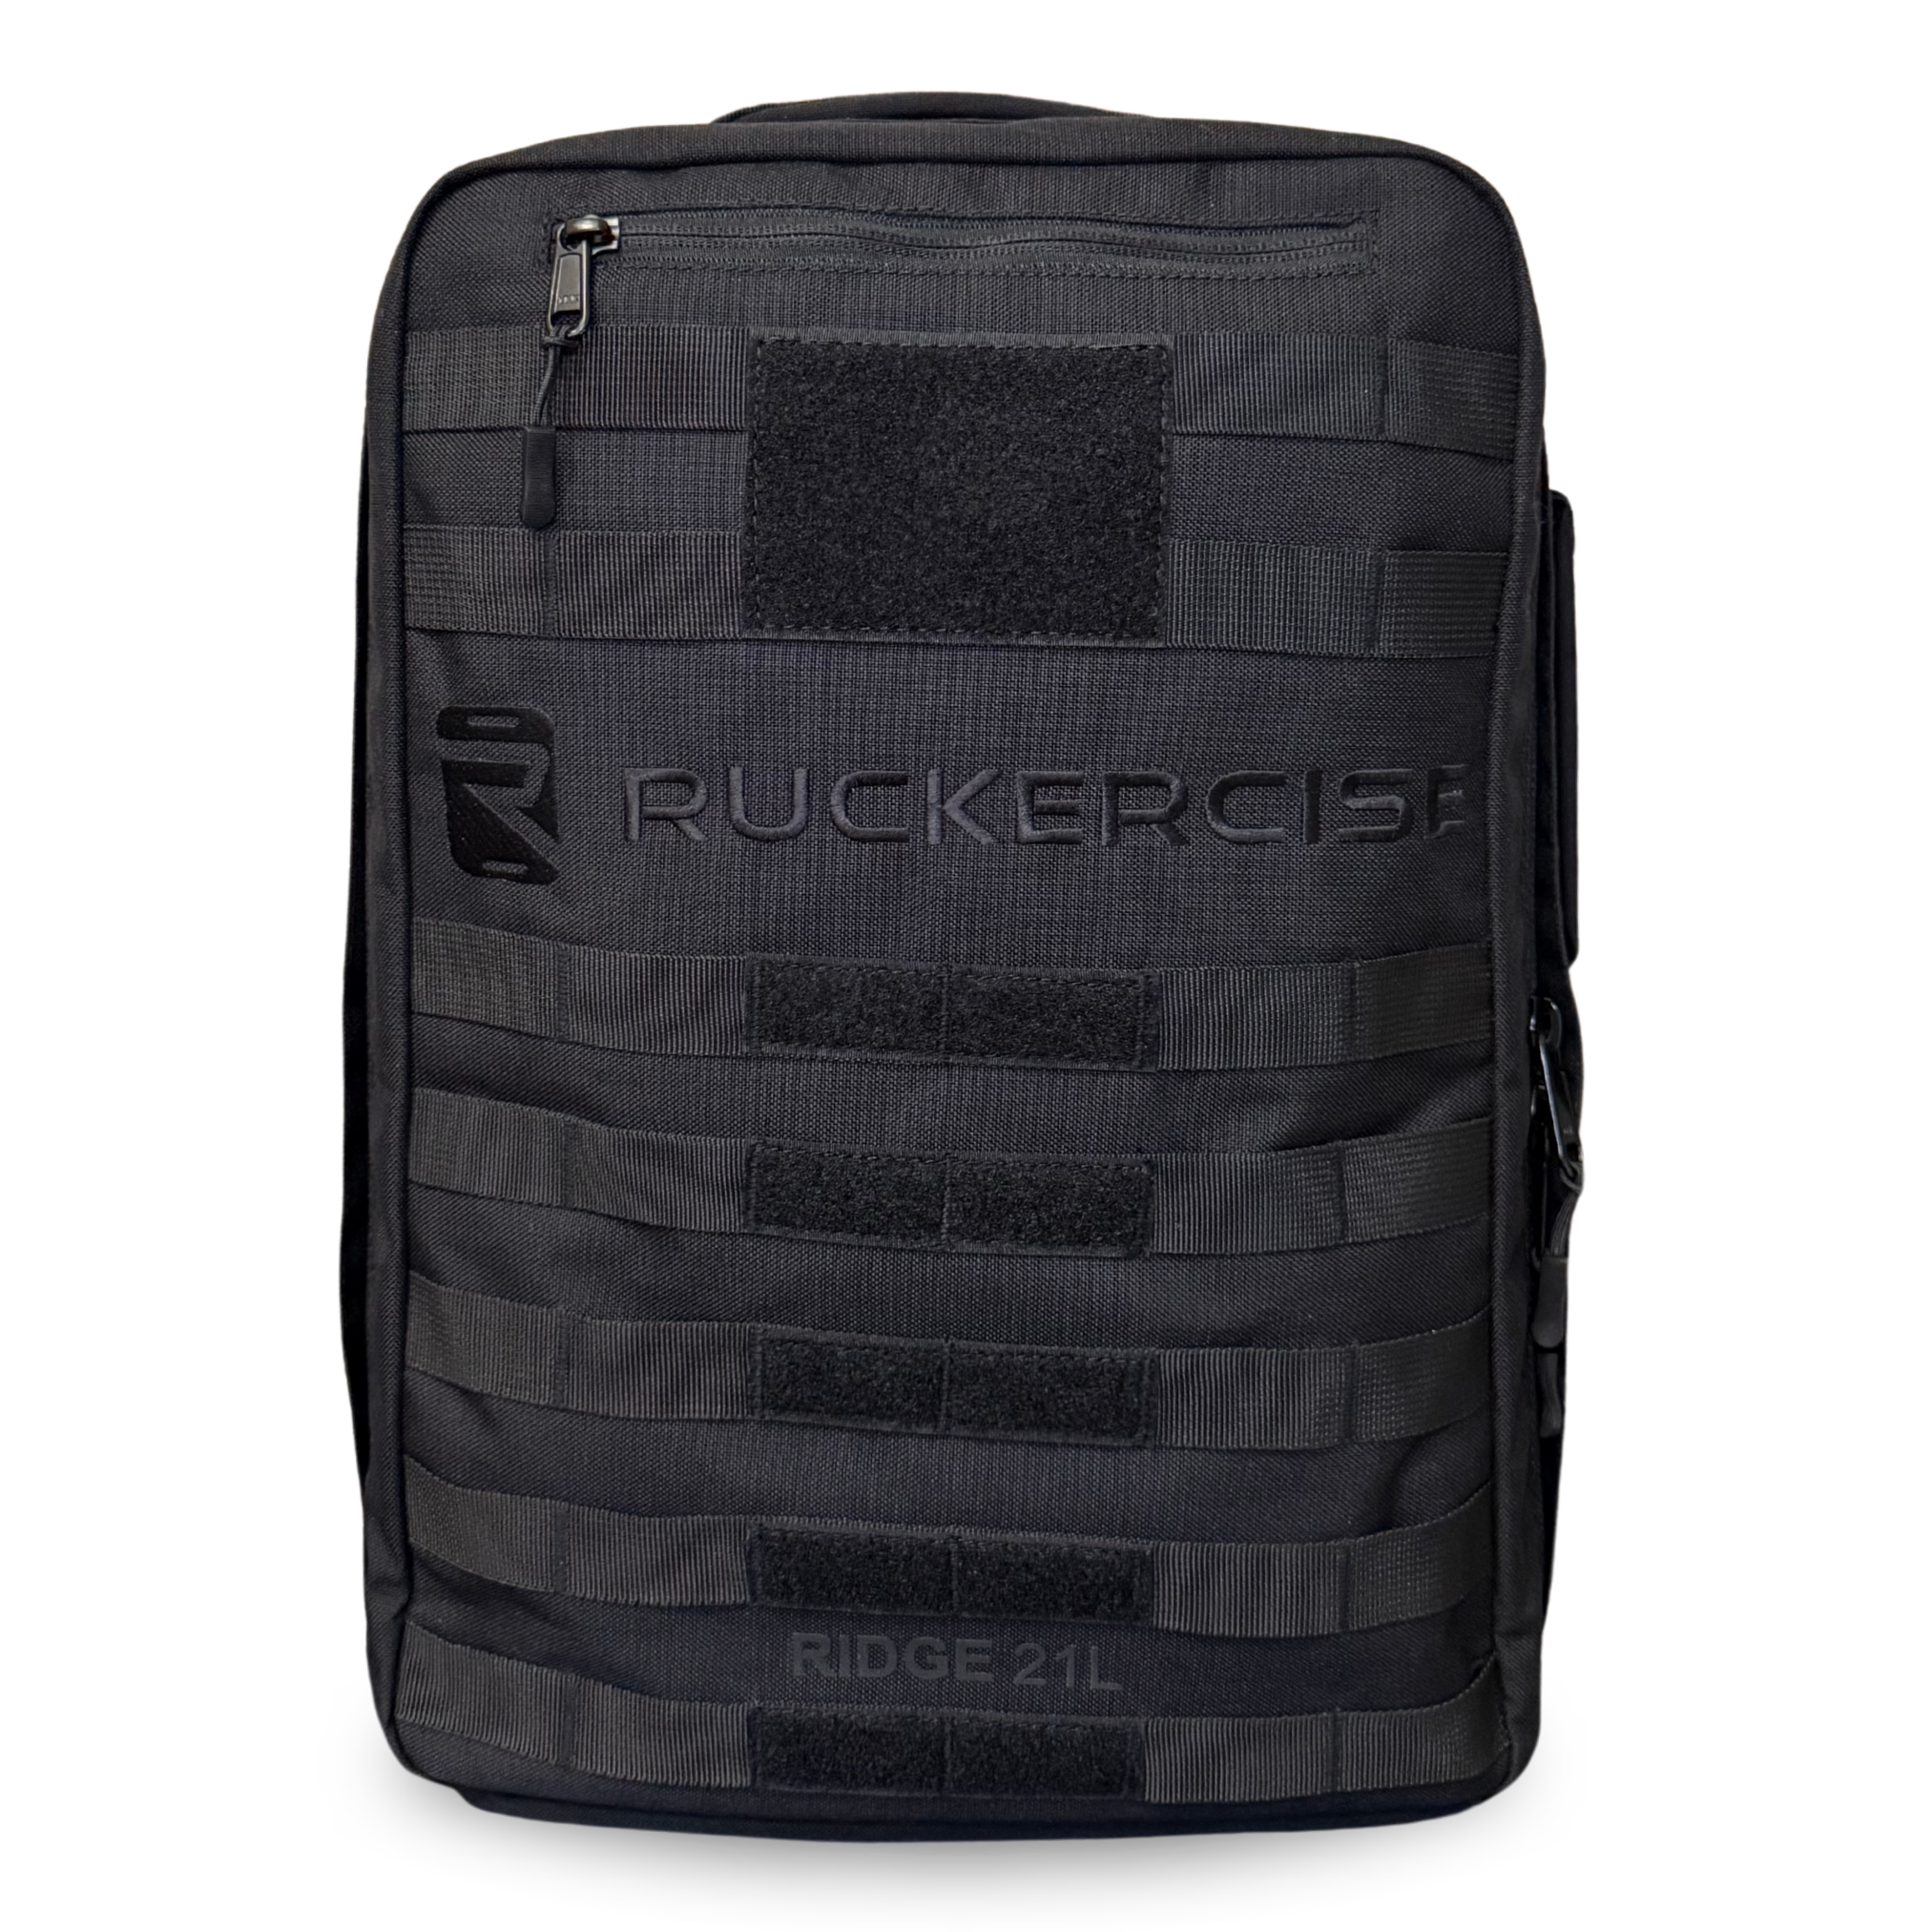
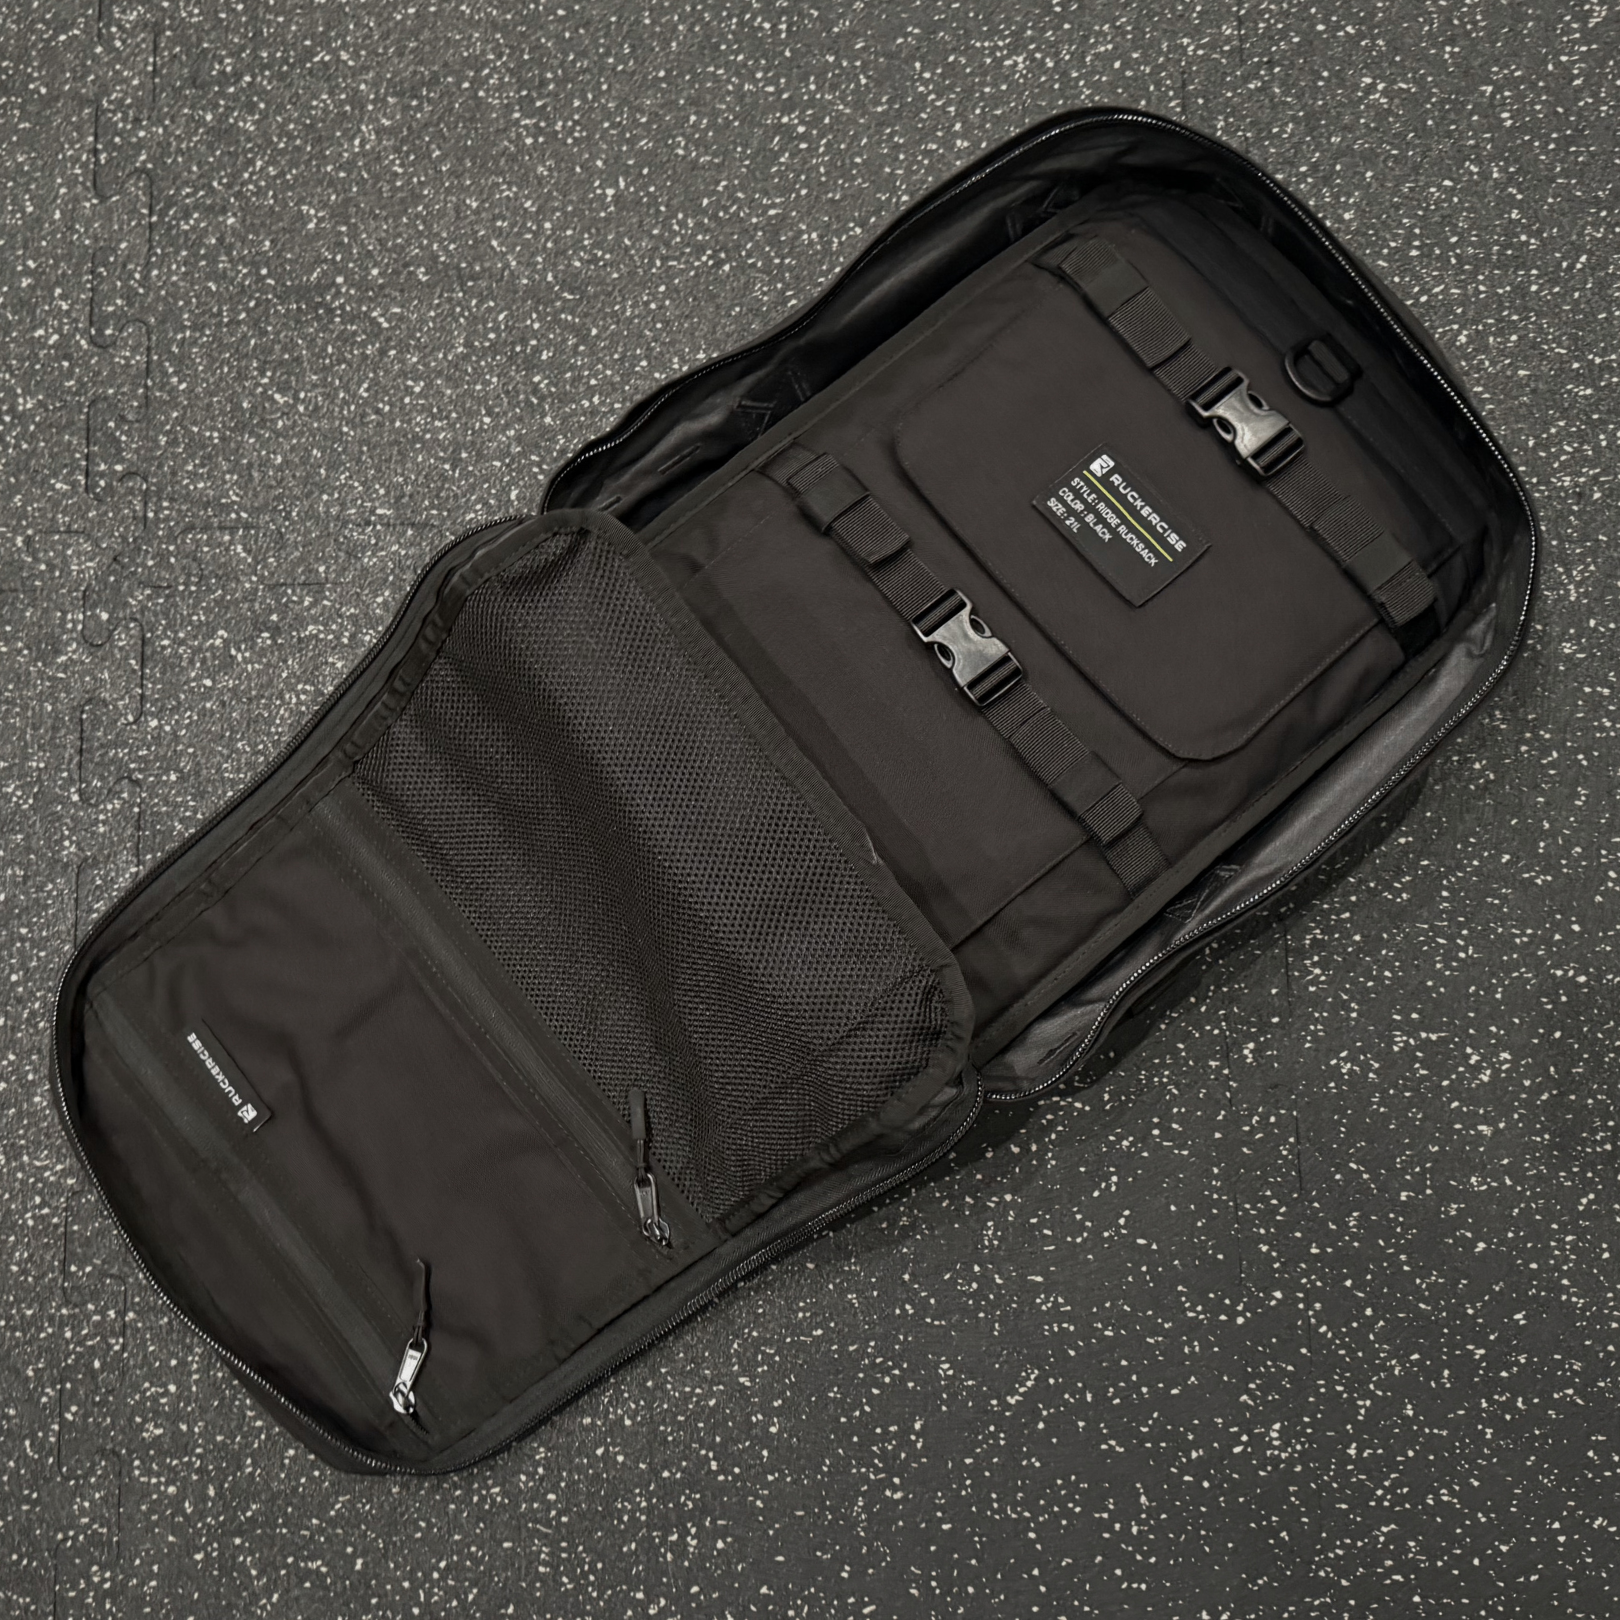
Selecting the Best Rucking Backpack
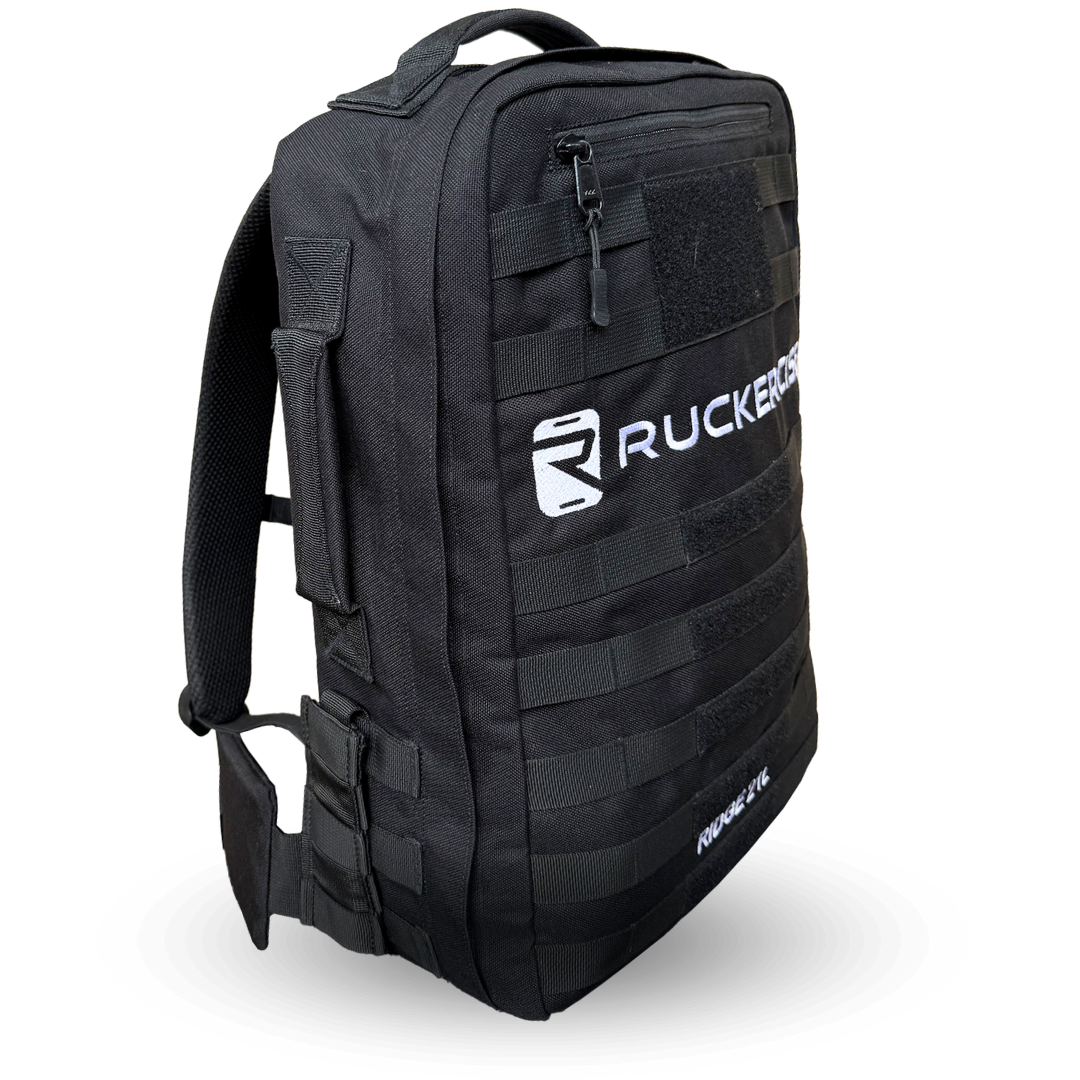
Your rucksack is the cornerstone of your rucking experience. Look for these key features:
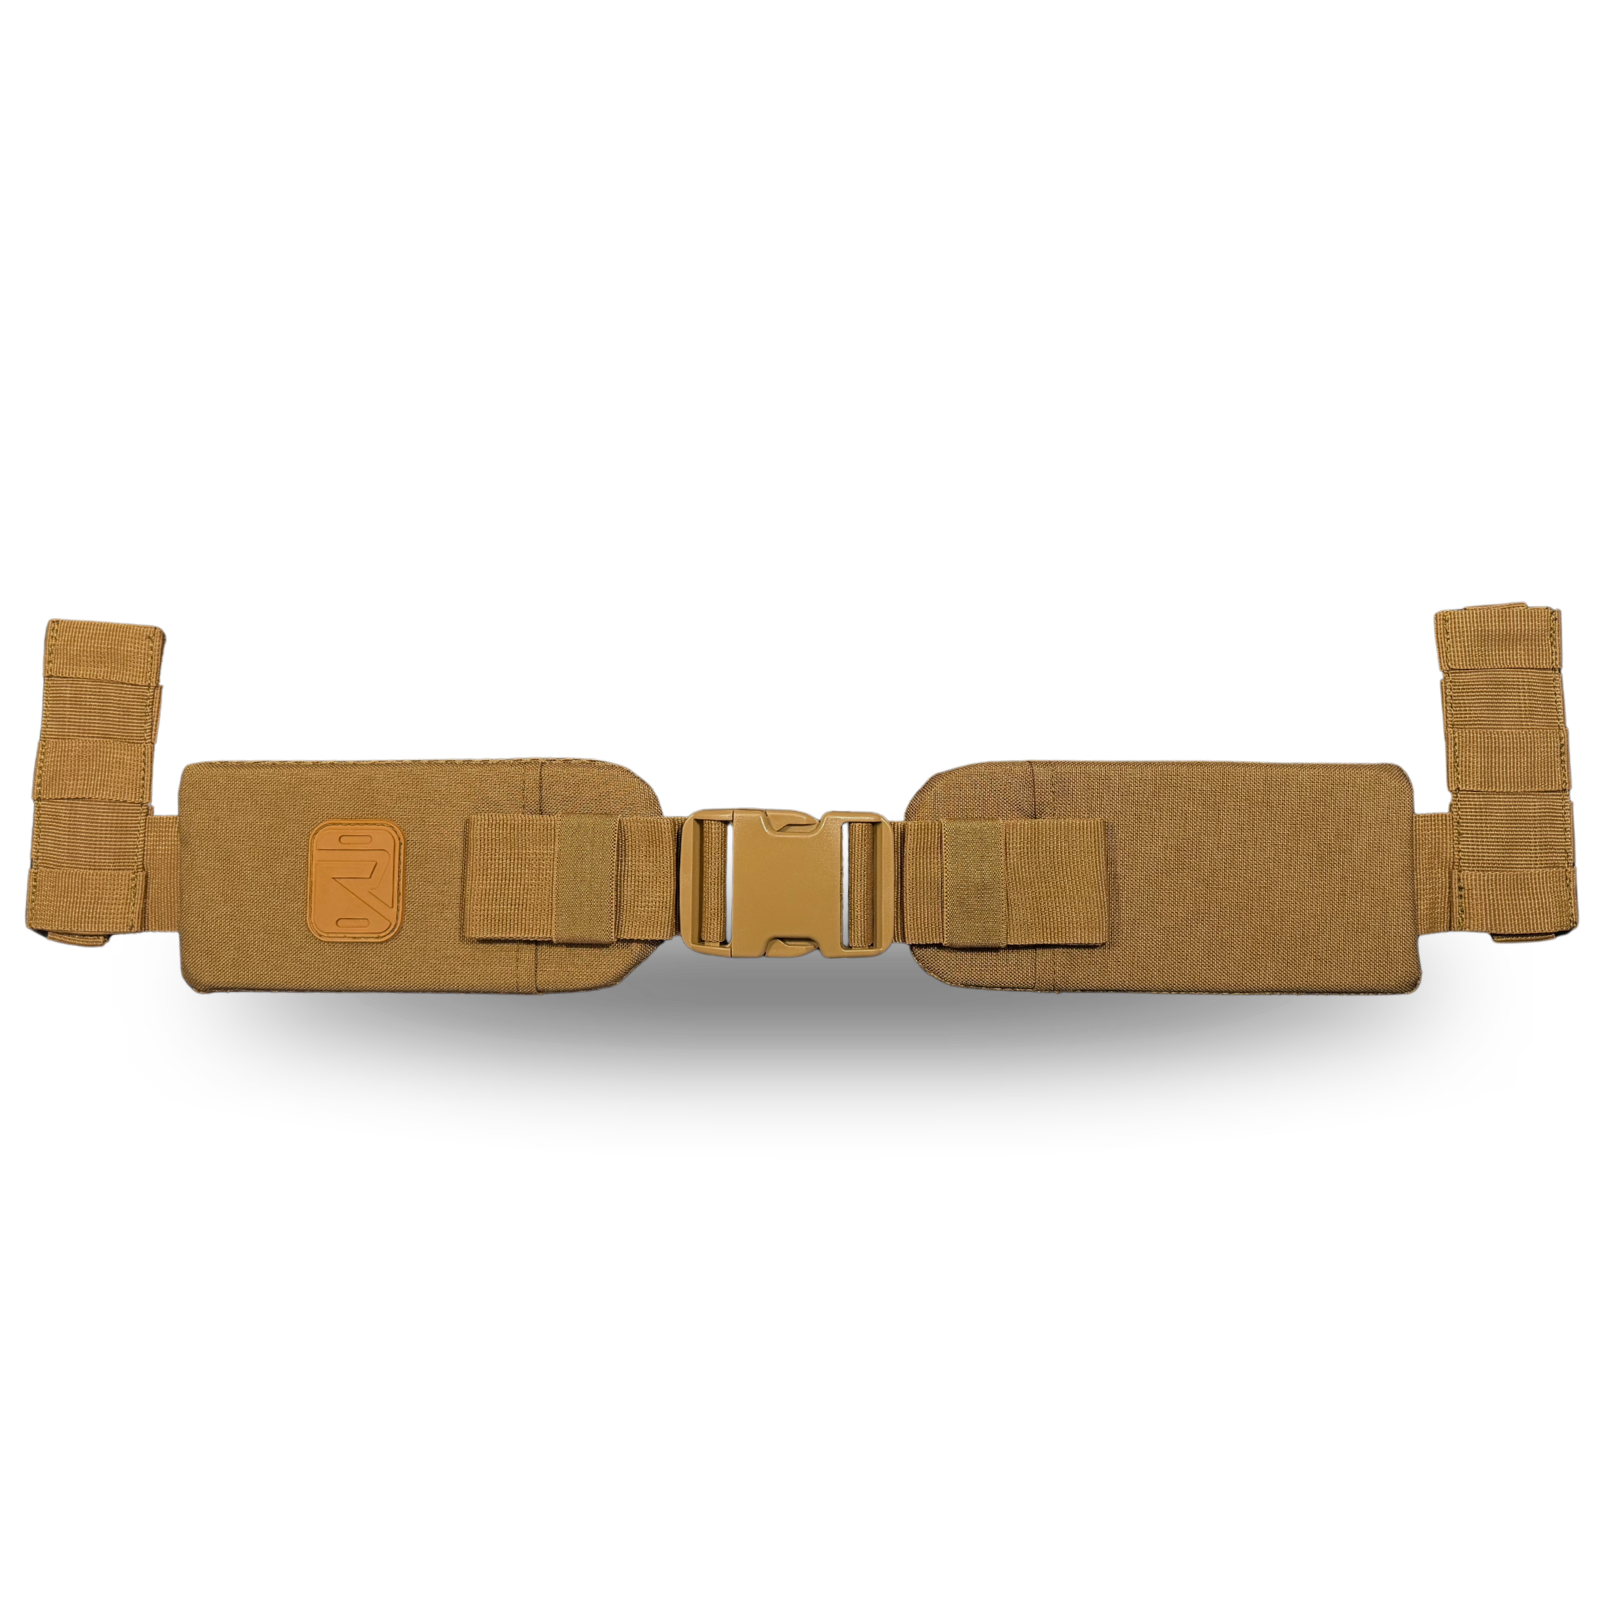
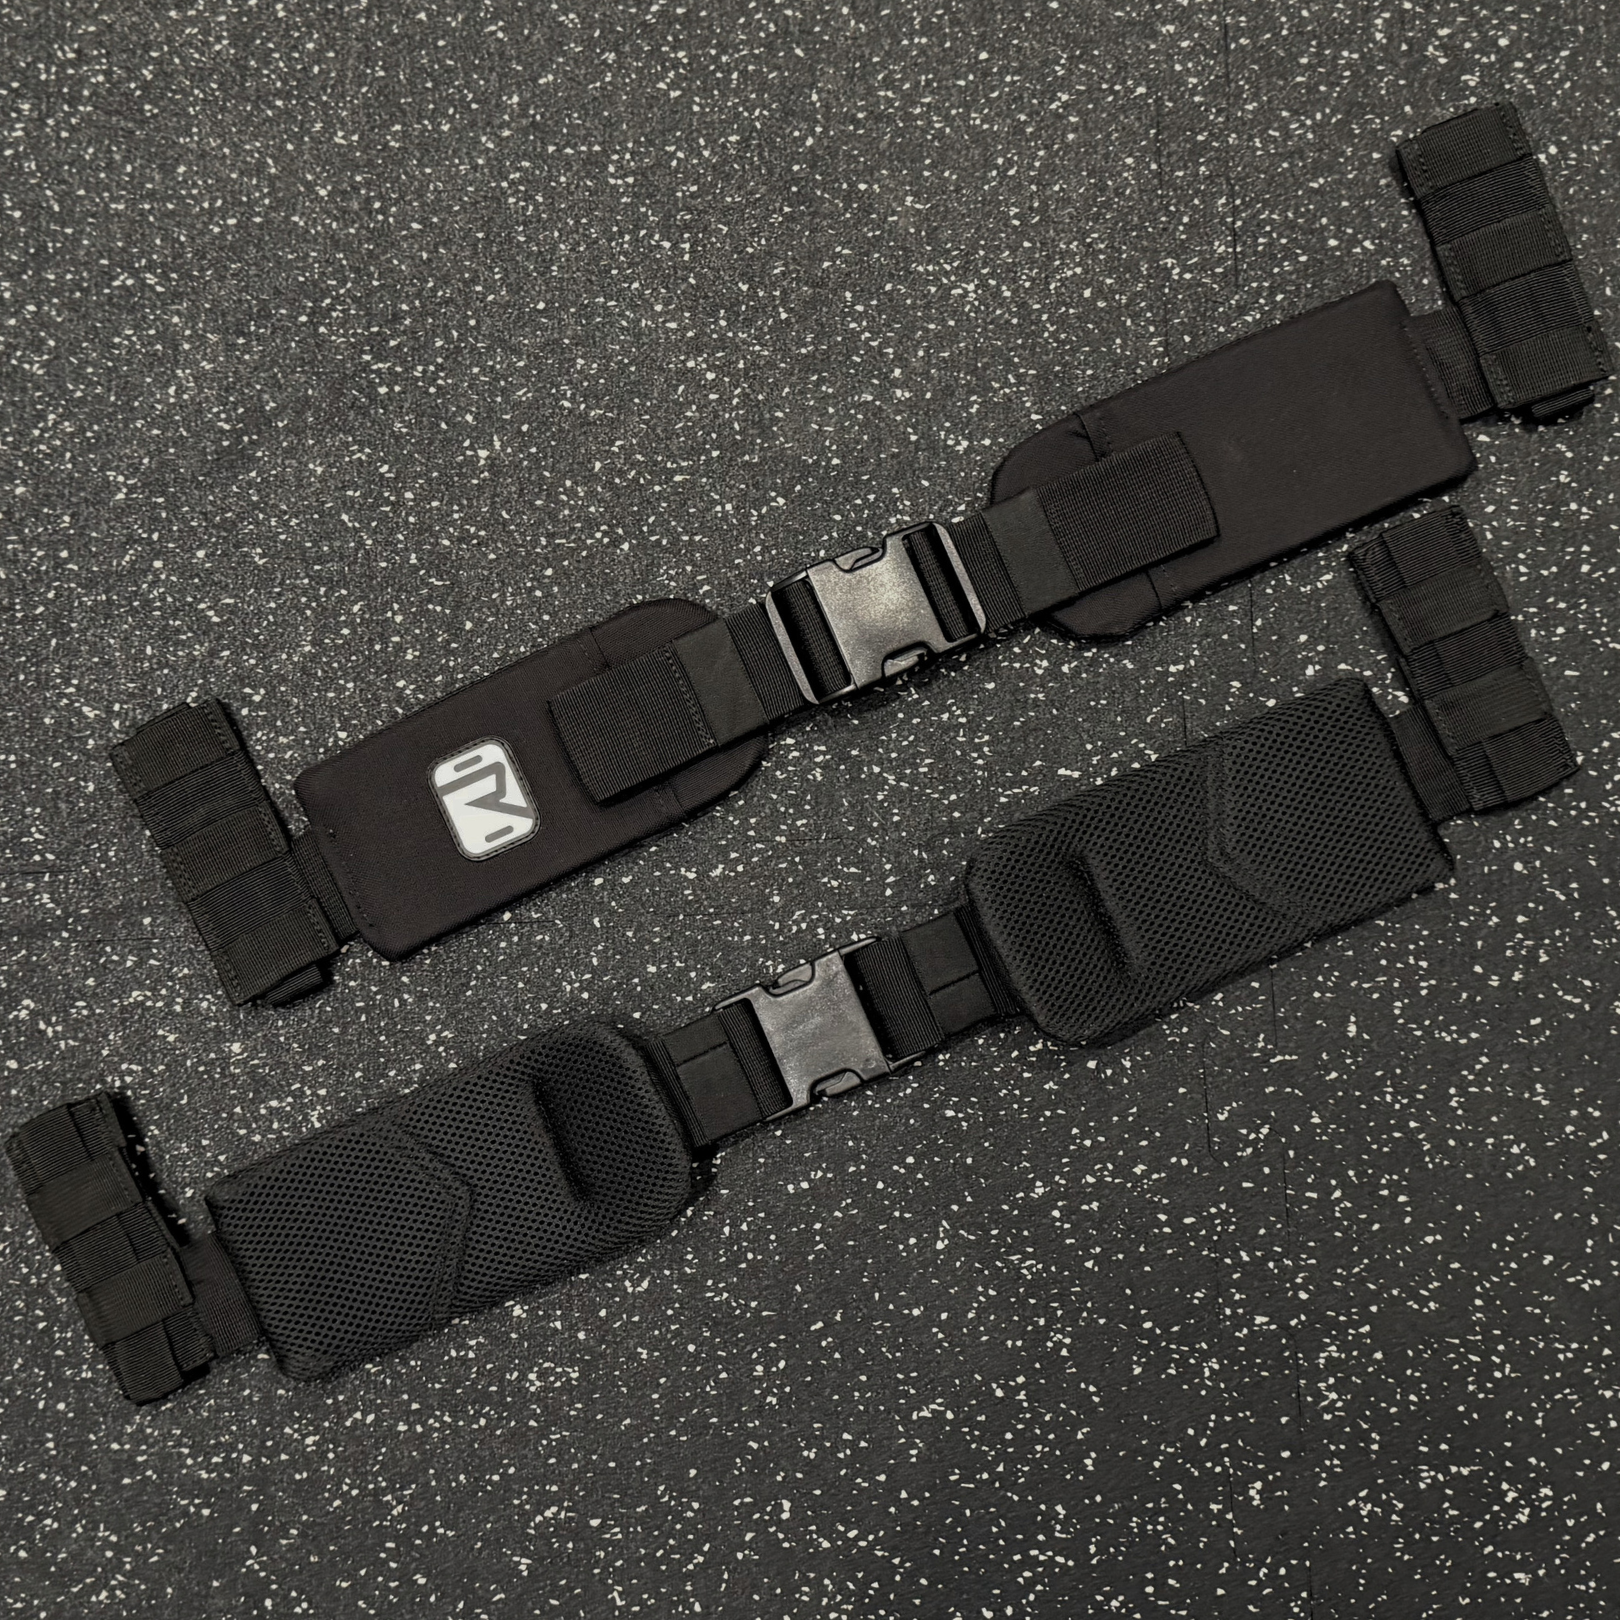
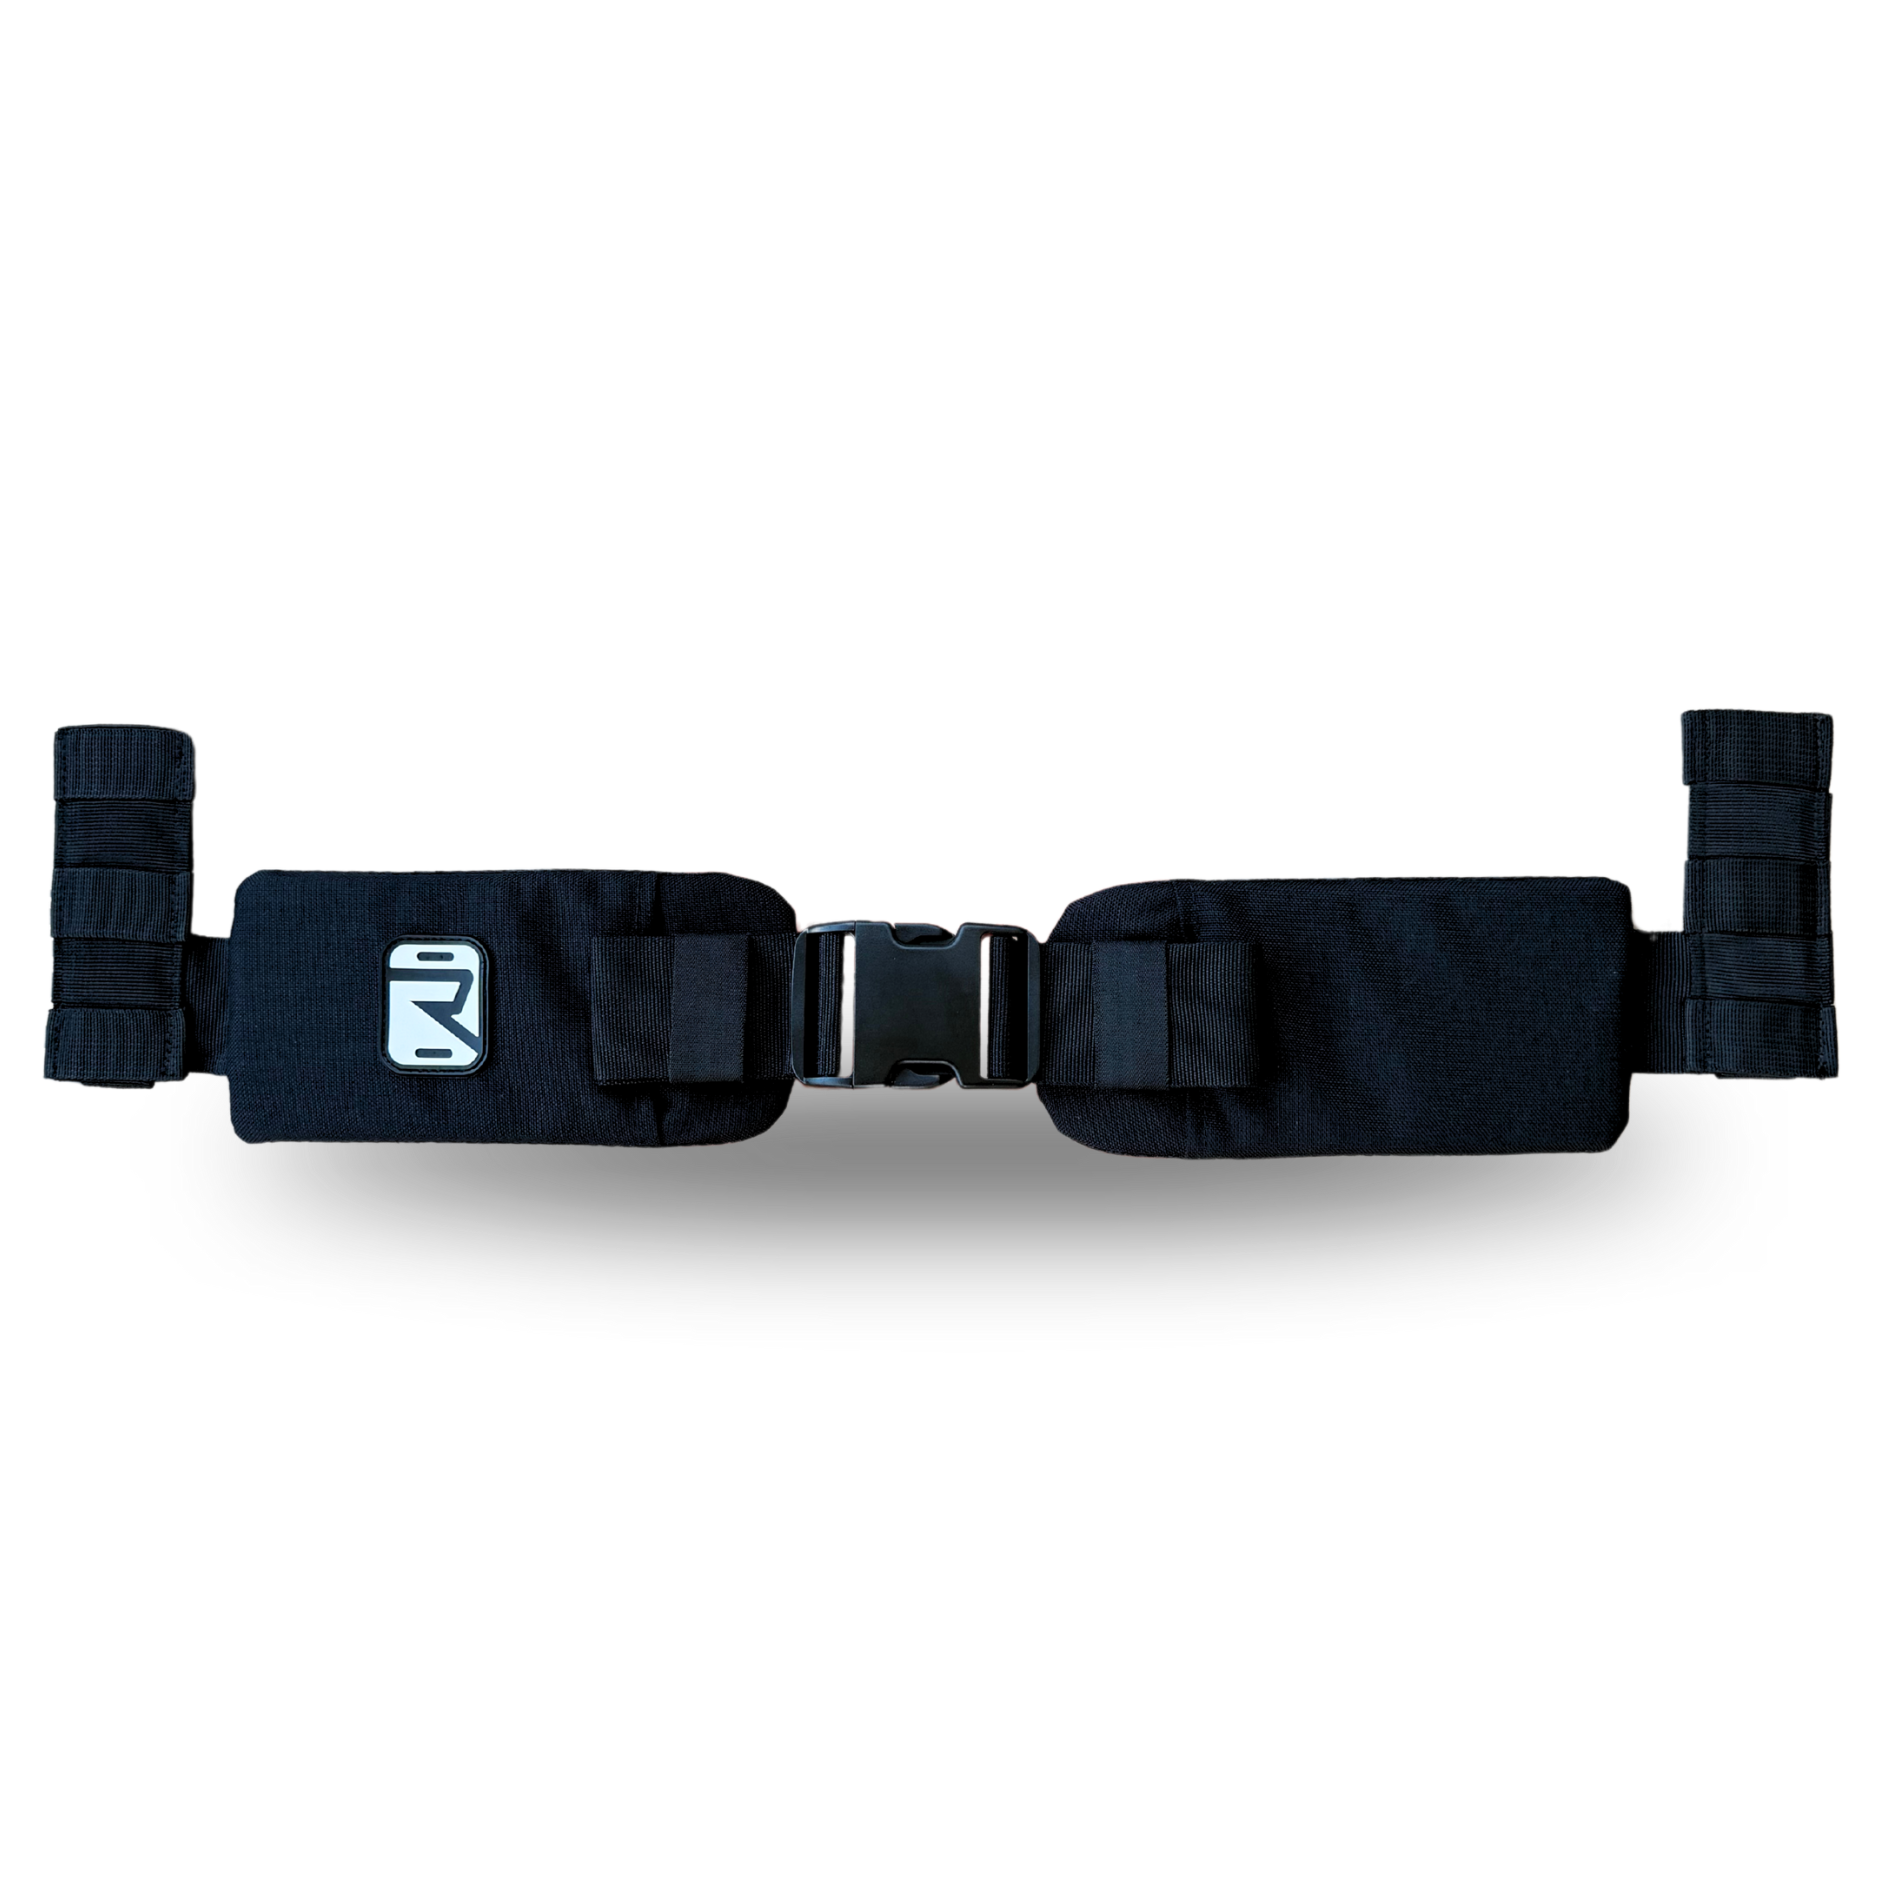
- Padded straps and a hip belt for comfort and weight distribution
- A size between 20-30 liters, which is ideal for beginners
Essential Rucking Footwear
Don't overlook the importance of proper footwear:
- Choose supportive shoes that can handle long walks
- Break in new footwear before your first ruck to prevent blisters
Choosing Rucking Weights
Select weights that suit your fitness level:
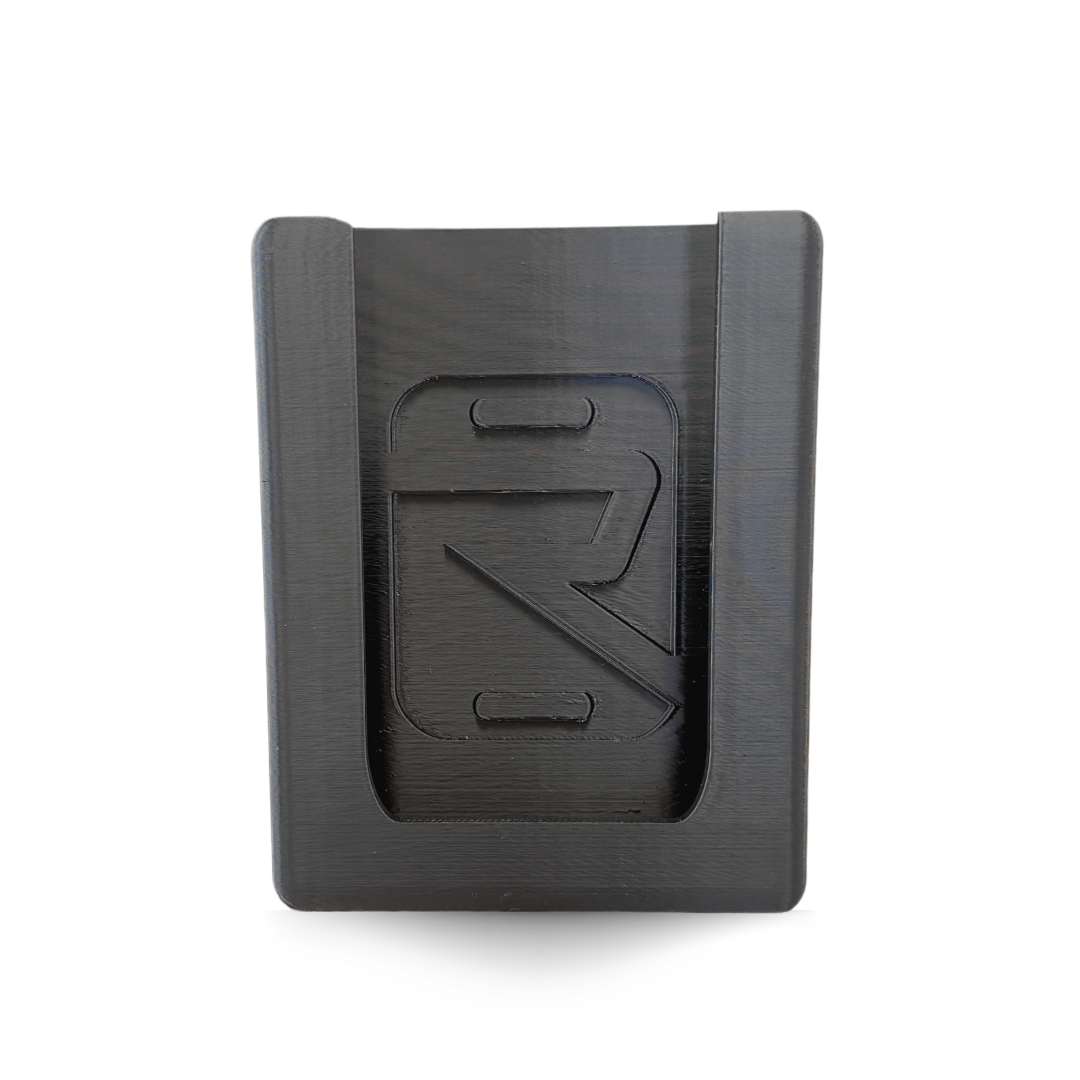
- Options include a Ruck Weight (also called a ruck plate), sandbags, or even books
- Start with 10% of your body weight and gradually increase
Step 2: Prepare for Your First Ruck
Proper preparation is key to a successful and enjoyable rucking experience:
Warm-up Routine for Rucking
Before you start, engage in:
- Light cardio to get your blood flowing
- Dynamic stretches to prepare your muscles
Proper Rucking Form and Posture
Maintain good form throughout your ruck:
- Keep an upright posture to distribute weight evenly
- Engage your core muscles for stability
Hydration Tips for Rucking
Stay hydrated during your ruck:
- Bring plenty of water
- Consider a hydration bladder or easily accessible water bottle
Step 3: Start Your Rucking Journey
Now you're ready to hit the trail:
Starting Small with Rucking
Begin with manageable goals:
- Start with 30 to 45 minutes, roughly 1.5 to 2.5 miles
- Aim for two or three rucking sessions per week
Gradual Progression in Rucking
As you build strength and endurance:
- Slowly increase your weight and distance
- Listen to your body and adjust as needed
Conclusion: Benefits of Rucking for Health and Fitness
Rucking is an excellent way to improve your overall health and fitness. By following these three simple steps - choosing the right gear, preparing properly, and starting small - you'll be well on your way to enjoying the numerous benefits of rucking. Remember, consistency is key, so start today and watch your fitness level soar. Happy rucking!
Keep reading
- Beginner rucking workout plan: a 4-week start
- How much weight should you ruck with? A chart by bodyweight
- The mental and physical benefits of rucking
- Rucking backpack vs. weighted vest
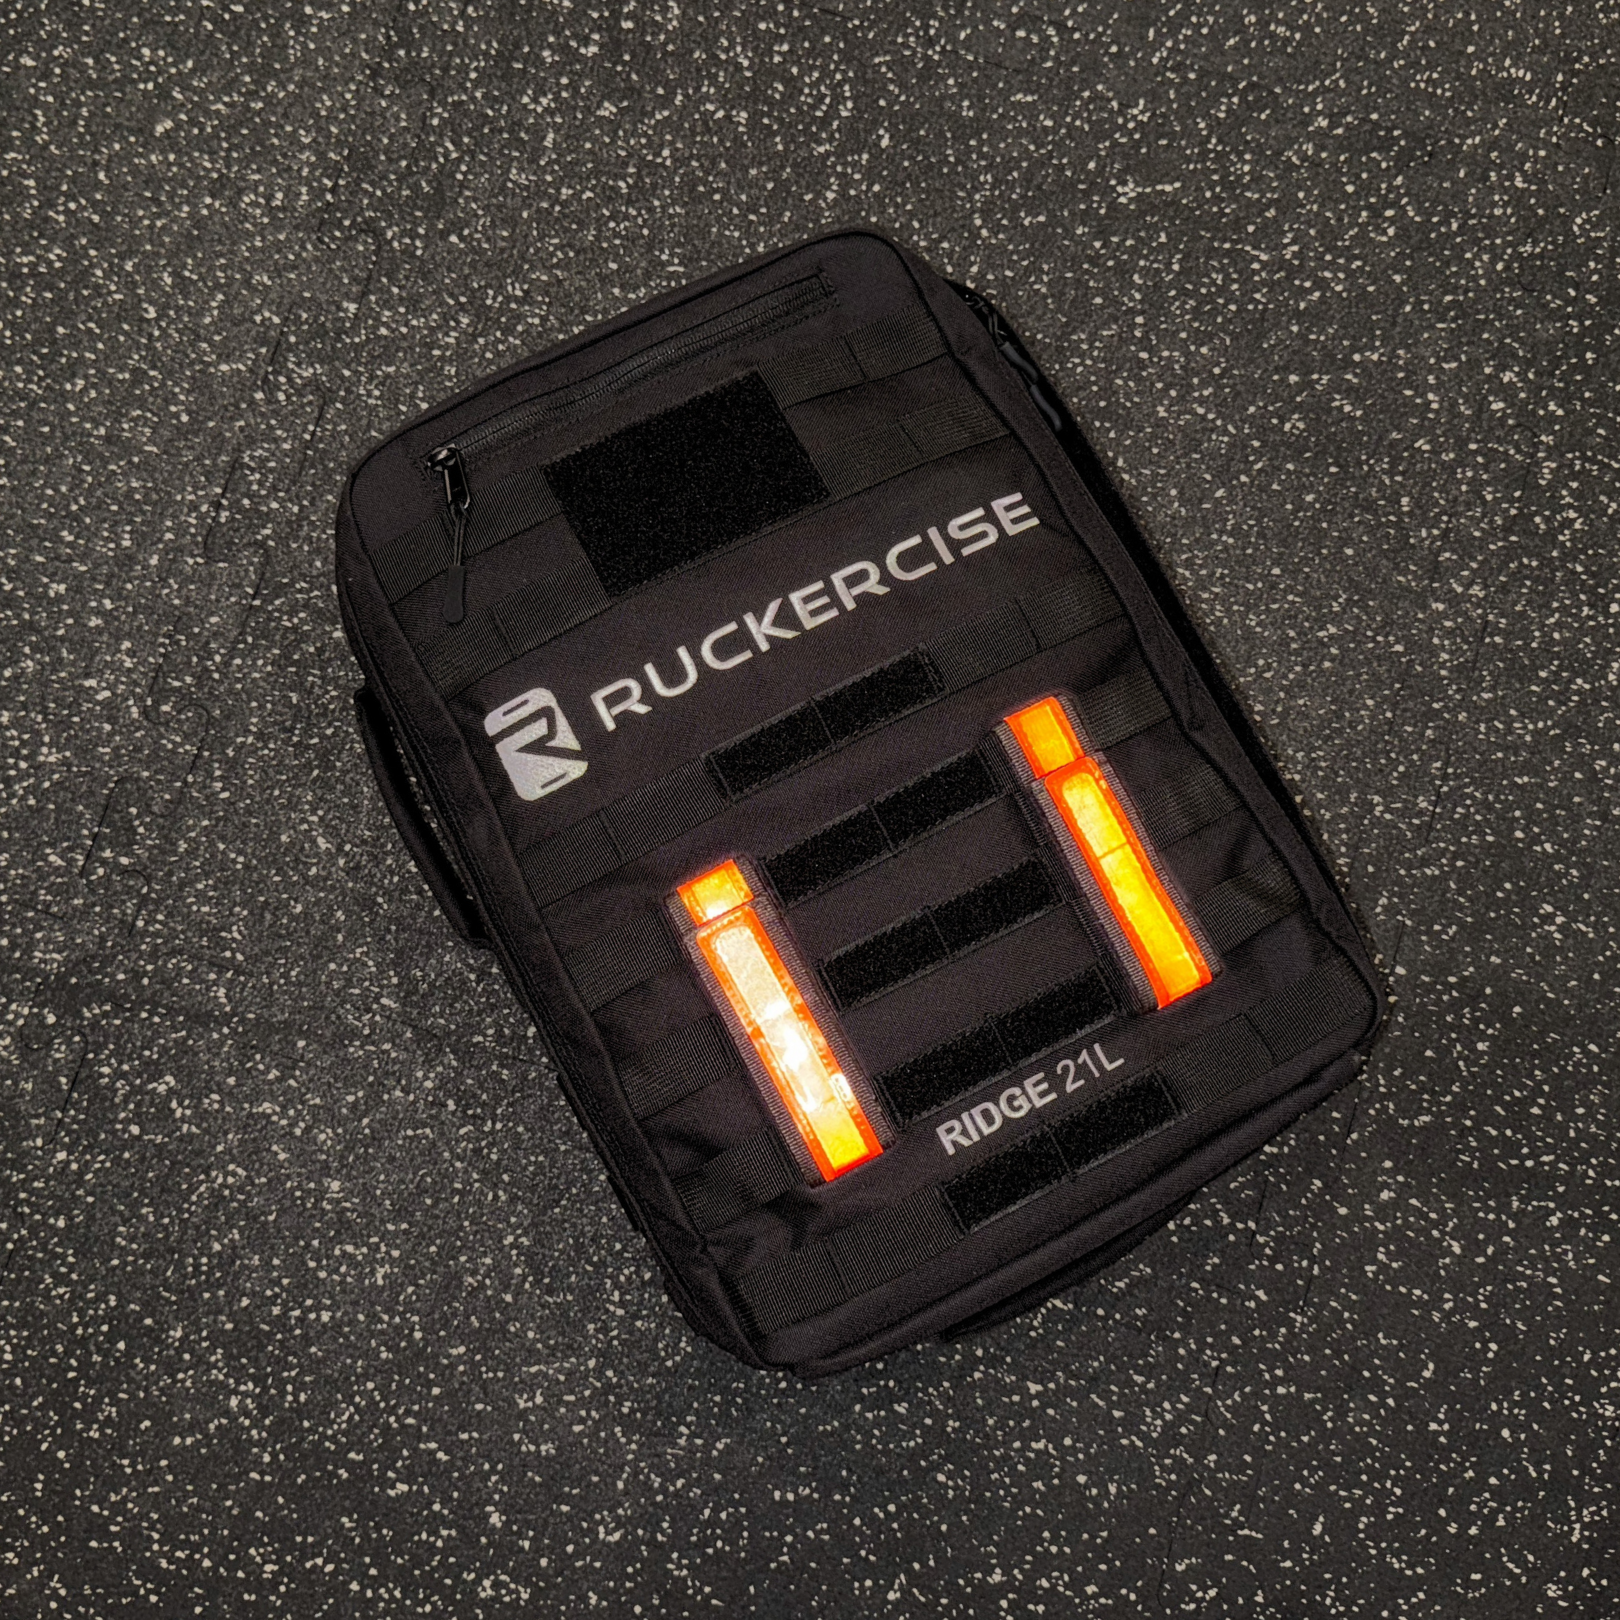
New to rucking? Begin with the Start Rucking guide. When you are ready for gear, the Ruck Weight and Ridge Rucking Backpack are built for it, and the Complete Rucking Bundle has both plus a hip belt.